The ice had started to thaw on the back steps that February morning when I filled the sample bottle from the hose bib by the utility room. The water came out cold and clear, the way it always does after a hard freeze, and I held the bottle under the stream while keeping my hand away from the cap’s interior. I was not in a hurry. The lab closes at four, and I wanted the bottle to sit in the cooler for an hour before I sealed it, the way the county tech showed me years ago. You do not rush a sample. You do not guess at it either. You fill it, you label it, you keep it cool, and you get it to the lab before the day is out.
I set the bottle on the tailgate and went back inside for the cooler. The dog followed me out and stood looking at the bottle as if it were something to be herded. I told him no, and he lay down in the slush. That is the thing about this work. It is slow, and it is exact, and it does not reward improvisation.
The Bottle And The Cap
The container for bacterial testing provided by the county laboratory differs from those used in chemical analyses. It looks sterile, and it seems to have a preservative tablet, with the cap sealed until you are ready to fill it. The strips sit by the back door, next to the shelf. When I need one, I take it out, I write the date and the time on the label, and I fill it from a tap that has been run for a full minute. I do not touch the inside of the cap. I do not set the cap on the ground. I hold it in my teeth if I have to, or I rest it on a clean paper towel. The sterile sample bottle technique matters more than most people think. If you contaminate the bottle, the lab will find bacteria that came from your hands, not your well, and you will spend a week treating a problem that was never there.
The Cooler And The Clock
Once the bottle is filled, it goes into the cooler with a cold pack. Not ice. Ice melts and the bottle sits in water, and the label comes loose. A cold pack keeps it at the right temperature without the mess. I put the cooler in the cab, not the bed of the truck. The cab stays warmer in winter and cooler in summer, and the bottle does not freeze or cook. The lab seems to want the sample within a certain number of hours, and that number varies by what you are testing for. Bacteria seems to have a shorter window than chemistry. I call the lab before I leave to confirm they are open and to ask how many hours I have. I do not guess. I have seen too many samples rejected because they sat too long in a hot truck.
The Form And The Chain
It is a piece of paper that says where the sample came from, who took it, when it was taken, and who had it from the well to the lab. I fill it out in the truck before I start driving. I write legibly. I do not abbreviate. I have been asked to testify once, years ago, when a deal fell through over a coliform hit. The form I filled out in my truck was the only thing that kept the result credible. The well water testing and reports procedure is only as reliable as the documentation accompanying it.
The Drop Off And The Wait
I hand the cooler to the tech, she checks the label, she signs the chain of custody, and she gives me a receipt. I do not leave without the receipt. The receipt has the sample number, and I write that number in the log of household activities maintained by my wife. The log goes back years. It has every test we have ever run, every result, every date. When the lab calls with the result, I write it down in the log. If it is a bacteria hit, I do not panic. I call the well driller, I shock the well, and I retest. The retesting after shock chlorination tells you if the treatment worked. One test does not tell you anything.
A few years ago, a man from town called me because his well had tested positive for coliform and he wanted to know what to do. I asked him where he got the bottle. He said he used a jar from the kitchen. I asked him how long the sample sat before he took it to the lab. He said he filled it on a Friday and dropped it off on a Monday. I told him to throw it out and start over.
“You are telling me the test is no good?” he said.
“I am telling you the lab tested your kitchen, not your well,” I said.
“So I wasted my money.”
“You wasted your time,” I said. “Now do it right.”
There is a belief that you can test your water at home with a strip and know everything you need to know. That is not true. A strip seems to show you chlorine, hardness and pH. The initial screening process is a first step, not a final answer. I use strips to check my chlorine after I shock the well. I use them to check hardness before I adjust the softener. I do not use them to decide if my water is safe to drink. I have seen people drink from wells that tested clear on a strip and positive for coliform in a lab. The strip does not lie. It just does not tell the whole truth.
Now that you know how to collect a sample and get it to the lab, go watch the full video and see how the rest of the system fits together. The video walks through storage, treatment, and the plan you need when the well goes dry or the test comes back bad.
I shipped a sample once in the summer, in a cooler with a cold pack, and the cold pack leaked. The bottle sat in water for four hours. The label came off. The lab could not identify the sample. I had to drive back out to the property, collect a new sample, and ship it again. It cost me a day and a half and the expense of a second test. The man whose well it was did not care about the cost. He cared about the delay. He was trying to close on a house, and the delay pushed the closing back a week. I learned to double-bag the cold pack and to tape the label to the bottle with clear tape. I have not lost a sample since.
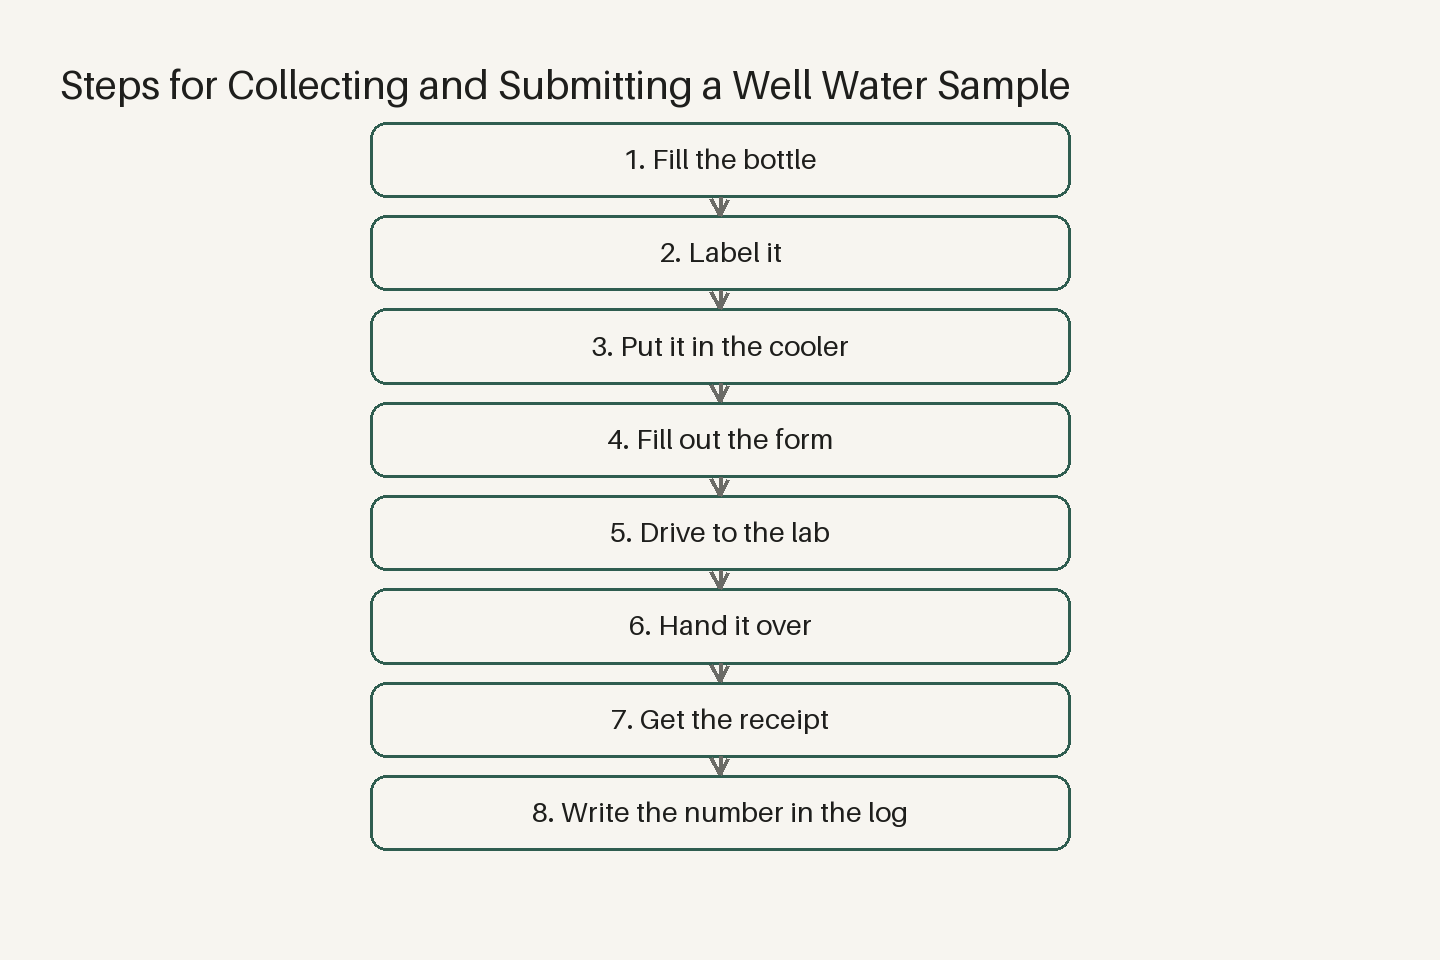
The steps I follow are simple. I fill the bottle. I label it. It goes in the cooler. I fill out the form. I drive to the lab. I hand it over. I get the receipt. I write the number in the log. I wait for the call. That is all there is to it. There is no shortcut, and there is no trick. You do it the same way every time, and you do it right.
The collecting a well water sample is the first step in knowing what you have. The lab is the second step. The log is the third. You do not skip any of them. You do not assume. You do not guess. You test, you record, and you act on what you find.
Watch the full video now, and then go fill a bottle. Do not wait until the water tastes wrong or the pump starts to cycle. Test it now, while you have the time to do it right.
The dog is still on the back steps, watching the yard. He does not care about the water. He cares about the squirrel in the cottonwood. That is fine. One of us has to keep an eye on things.