The pump had been running fine at six that morning, and by seven the kitchen tap spat air and went quiet. That is how it usually starts at my place — not with a flood or a noise, but with a handle turned and nothing behind it. I stood there a moment, then did what I have done at a hundred houses over the years: nothing dramatic. I walked to the utility room, looked at the gauge, and started down a list I have been carrying in my head since my first decade at the county yard.
The first thing to know is that “no water” is almost never “no water.” It is a symptom with maybe six common causes, and most of them are cheap to fix if you find them in the right order. Panic buys and phone calls come later, after the checks.
The Gauge on the Pressure Tank
Start at the pressure tank, wherever it lives — utility room, crawl space, well house. Read the gauge. A reading of zero usually suggests the pump isn’t producing or the line from the well may be broken. A normal reading with no flow at the taps seems to suggest the blockage is in the house plumbing, and that is a different afternoon entirely.
While you are there, listen. A submersible pump that is running sounds like a faint hum through the pipe or a relay clicked on at the pressure switch. If the switch is chattering — clicking on and off fast — I’d suspect the tank no longer holds its air charge, and the pump appears to be short-cycling itself toward an early death. That is a fixable thing, but it is not a thing to ignore.
I keep a map of my own well parts taped near the tank, because the order of pieces matters when you are half awake and working by headlamp. Pressure switch, check valve, tank tee, gauge. Know which is which before the water stops, not after.
The Breaker and the Control Box
If the gauge reads zero and the pump is silent, go to the panel. Flip it fully off, then on. If it trips again immediately, stop.
On some systems there is a control box mounted on the wall between the breaker and the well head — a gray metal box with a capacitor and a relay inside. Capacitors seem to fail with age, and when one goes, the pump often won’t start even though power is reaching it. You can sometimes hear the pump hum and then stop, trying. That is a capacitor symptom.
Len, my neighbor on the adjacent section, called me one August when his shallow well quit. The breaker was fine. The capacitor was fine. The well itself had simply drawn down past the pump intake, as it does most dry summers on her property. No part had failed. The water table had. That is a different problem from anything electrical, and no amount of breaker-flipping will fix it.
Over the years I have watched this same sequence play out at dozens of houses. In the first year of owning a well, people assume the worst — a dead pump, a dry hole — and call for a truck. By the third year they have learned to check the breaker and the gauge before the phone. By the fifth year they keep a spare pressure switch on the shelf because they have already replaced one on a Sunday. The learning curve is short and mostly made of small humiliations: the time you paid for a service call and the fix was a tripped breaker, or the time you bought a new pump and the old one just needed a capacitor.
The thing that changes the situation from an inconvenience to a problem is time without water, and that is where storage comes in. The pair of drums I keep in the garage means a dead pump on a Friday night is a Saturday repair, not an emergency. The hand pump means I can get water out of the well casing even with no power. The bucket and the note posted inside the pantry door mean my wife does not have to guess my approach if I am not home.
Go watch the full video before you start taking anything apart, because the sequence matters more than any single step.
The Sound From the Pipes
There is a myth that a well running dry makes a dramatic noise — a clatter, a bang, something you cannot miss. In my experience it makes no sound at all. The pump keeps running. The gauge drops slowly. You notice it first at the tap, or in a toilet that takes too long to fill.
What does make noise is water hammer, and that noise has been documented since the Romans. Marcus Vitruvius Pollio described it in the first century B.C. — the bang in the pipes when a valve closes fast and a moving column of water has nowhere to go. The French call it coup de bélier, blow of the ram, after the hydraulic ram pump. If your pipes bang when a washing machine valve closes, that is not your well failing. That is momentum. A hydropneumatic device called a water hammer arrestor, installed between the pipe and the machine, seems to absorb the shock and stop the banging. It is a cheap fix for an alarming sound, and confusing it with a well problem has sent more than one homeowner down the wrong path.
The actual sign of a well going dry seems quieter: sputtering taps that spit air, maybe sediment in the aerators, water that runs tan for a few seconds and clears. If you see that in August and your well is shallow, you are drawing down. If you see it after a power flicker, you are looking at a pump that lost prime or a foot valve that is not holding. The symptoms overlap, which is why the order of checks matters.
Two tools I have used side by side for this: test strips and a sample container for bacteria from the county lab. The lab will. I use both, in that order, every time the water has been off for more than a few hours. My wife logs the results in the household record, same as she logs the drum rotations.
Some folks will tell you that the first thing to do when water stops is to go get a filtration system or a storage tank, so you are covered next time. I half agree. Storage is worth having, and I have my two drums for exactly this reason. But storage is the second step, not the first. The first step is finding out why the water stopped, because if it is a tripped breaker or a failed capacitor, you do not need a tank yet — you need a part. Purchasing your way around diagnosis leads to owning equipment you did not need and a problem that remains.
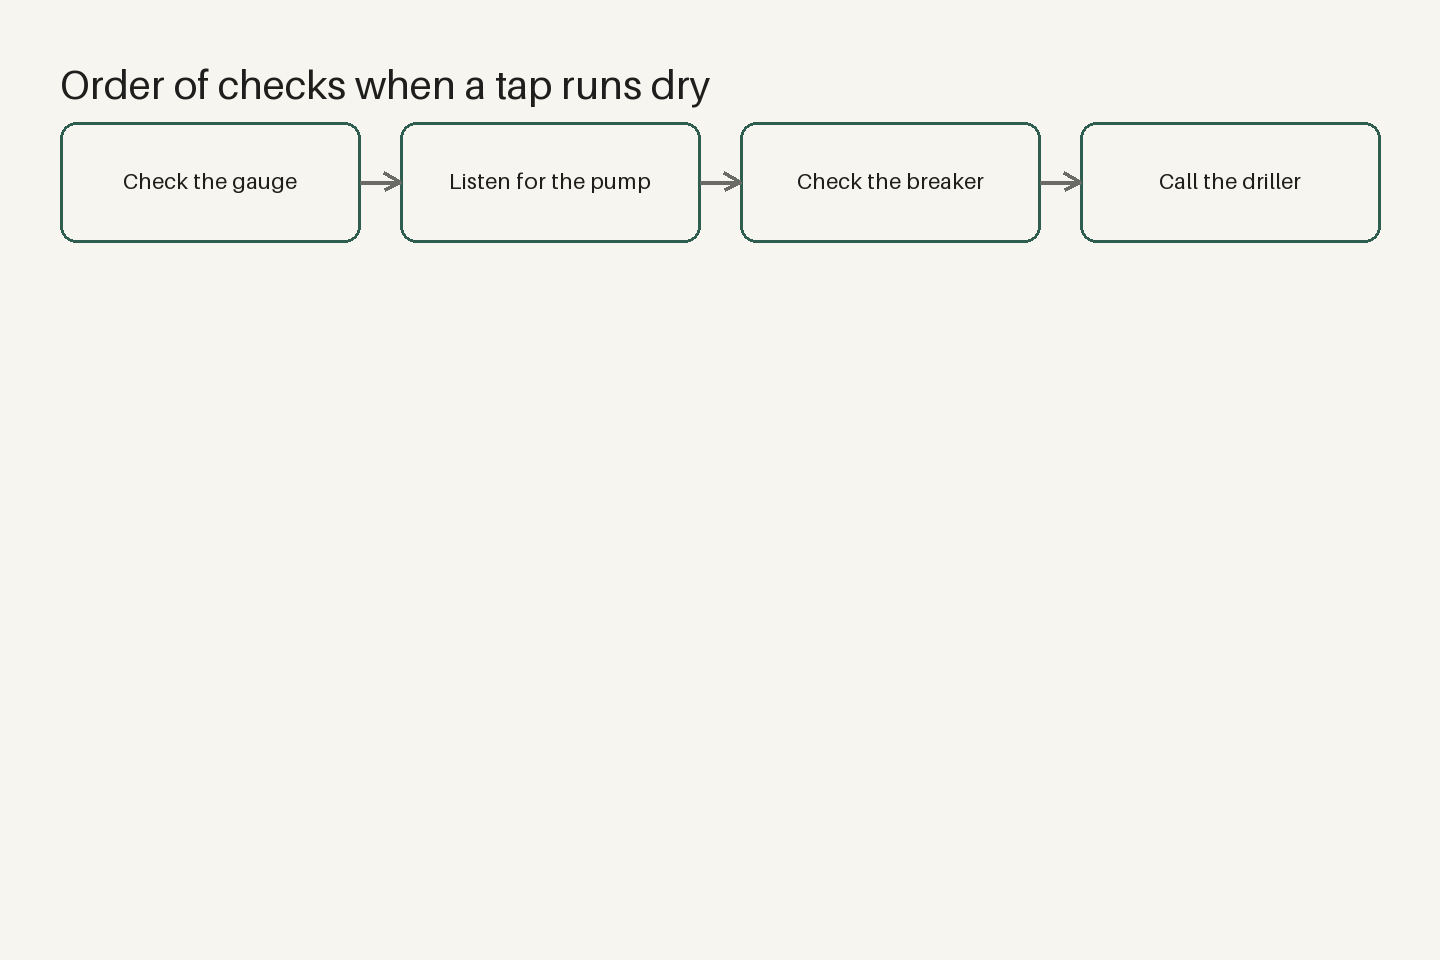
So here is my actual sequence when a tap runs dry at my house. I check the gauge on the pressure tank. I listen for the pump. I check the breaker. If everything electrical checks out and the pump still will not produce, I call the driller. I do not pull the pump myself.
After the water comes back, I run a tap for a few minutes, then do the strips. If anything looks off, I fill a lab bottle and take it in.
If your system has a history of acting up during outages or freezes, keep a written list of what happened each time and what fixed it. Mine is taped next to the electrical panel. It has saved me from repeating a wrong guess more than once.
Sit through the full video walkthrough before you decide whether your problem needs a service call or a Saturday and a screwdriver.
Check your pressure gauge right now, while the water is still running. Note the reading. Write it down. Your baseline is the first thing you will wish you had when the tap goes quiet.