Bleach is not the answer to a sick well, but it is usually the first tool.
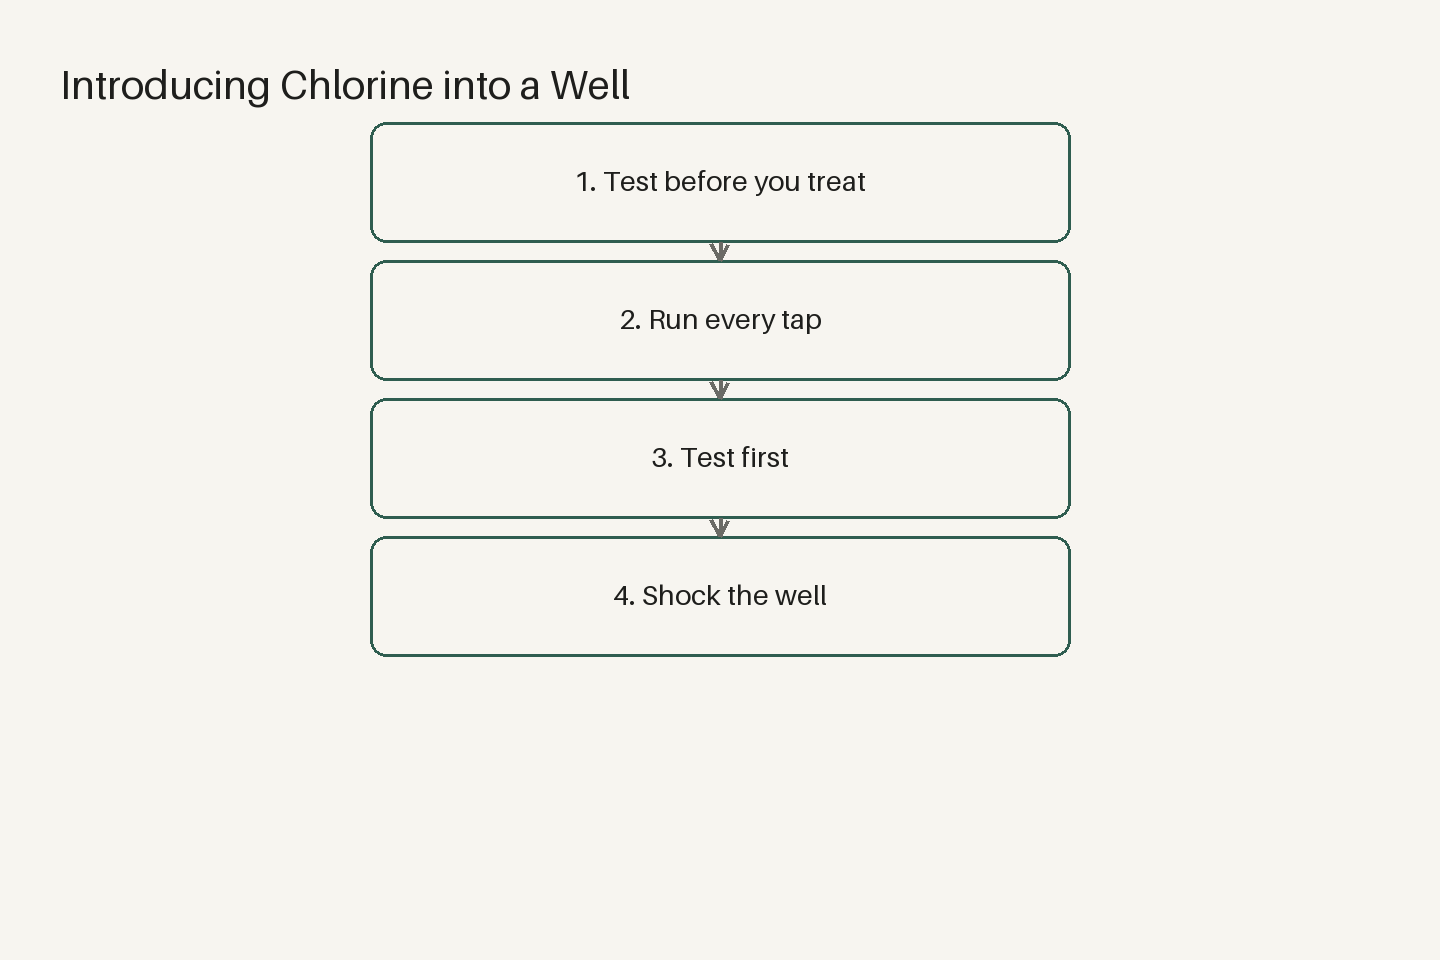
Most wells that test positive for bacteria do not need a new treatment system. They need a careful dose of chlorine, time to sit, and a follow-up test to confirm it worked. The word for this is shock chlorination, and it is a maintenance task, not a permanent fix.
I want to be clear about what chlorine does and does not do before you pour anything down the casing.
Bacteria, not minerals
Chlorine handles living things. It seems to do little for hardness, iron staining, sulfur smell from gas, or nitrate contamination. Those need different fixes.
Coliform bacteria show up in wells for a reason. Surface water got in, or the cap seal failed, or the drop pipe has a crack above the static water level. Shocking the well kills what is there now. If the pathway stays open, the bacteria come back with the next hard rain.
Test before you treat. The county lab’s bacteria sample bottle is free to pick up and the lab cost is modest. I keep a case next to the test strips by the back door. If the lab says coliform present, you have a reason to shock. If it comes back absent, you just saved yourself a morning and a tank of wasted water.
The chemistry itself is old. Chlorine as a separate gas was not recognized until Jan Baptist van Helmont noted it around 1630, and Carl Wilhelm Scheele described its properties in detail in 1774. Sir Humphry Davy confirmed it as an element in 1810 and named it for its pale green color. It took another century before anyone used it systematically to make water safe to drink.
You do not need to know the history to shock a well, but it helps to remember that this is not new technology. The method is proven. The question is whether you do it carefully.
Circulating the dose
The mistake most people make is pouring bleach into the well and calling it done. That treats the top few feet of water in the casing and nothing else.
The goal is to get chlorine into every part of the system that water touches: the casing, the drop pipe, the pump, the pressure tank, the household plumbing, and any sediment filters or softeners. That means running water through the whole system while the chlorine is present.
Start by mixing your dose in a clean bucket with water. Never pour straight bleach into the well. Dilute it first, then pour it slowly down the casing.
After you add the solution, you need to circulate. Hook a garden hose to a spigot outside and run water back down the well. This pulls the chlorinated water through the pump and pushes it back down, mixing the column. You will smell chlorine at the hose when it is working. That tells you it has reached the pump intake.
Once the chlorine smell is strong at the hose, shut it off and open each tap in turn until you smell it there too. That includes the washing machine hookup, the shower, and the toilet tanks. Then close everything and let it sit.
The contact time matters. During that time, nobody drinks the water, nobody showers, and you do not run the dishwasher or washing machine.
After the wait, you flush. Run every tap until the chlorine smell is gone. This uses a lot of water. I have flushed systems that cleared in an hour and others that took most of a day. It depends on the depth of the well and the size of the pressure tank.
The full procedure has more steps than I am covering here, and the details matter. Shocking a well safely involves calculating the dose based on water volume, protecting softeners and filters from damage, and knowing when to call a driller instead of doing it yourself.
Go watch the full video before you open the bleach. It walks through each step in order, with the tools laid out and the mistakes shown so you can avoid them.
When chlorine fails
Shock chlorination does not fix a structural problem. If the well cap is cracked or the casing has a hole below the surface, bacteria will return. Chlorine is a reset, not a repair.
I learned this the hard way on a call in late spring a few years back. A household on a shallow well east of town had tested positive for coliform after heavy runoff. They shocked the well themselves, waited, flushed, and tested again. Clean. Two weeks later, after another rain, the bacteria came back.
I pulled the cap and found the seal had dried and split. Surface water was running down the outside of the casing every time it rained hard. We replaced the cap and the gasket, shocked the well again, and the problem stayed gone.
The chlorine did its job. The cap was the failure. If they had kept shocking without fixing the seal, they would have been pouring bleach every month and wondering why nothing worked.
This is why I tell people to look at the wellhead before they treat. If the cap is loose, if the vent screen is missing, if there is a gap where the electrical conduit enters, you have an entry point. Fix that first, then shock.
Some people argue that a constant low dose of chlorine is better than periodic shocking. They seem to point to municipal systems that maintain a residual and suggest the same approach for private wells. There is some logic to it. A steady residual does keep bacteria from establishing.
The problem is that private wells are not municipal systems. Most households do not have the equipment to dose continuously, and adding an injection pump and a contact tank is a level of complexity most people do not want to maintain. The pumps need calibration, the tanks need cleaning, and the chlorine solution needs refilling.
For most households, periodic shocking after a positive test is simpler and cheaper. If you are shocking more than once or twice a year, the well has a problem that chlorine will not fix.
I keep two 55-gallon drums of treated water in the garage, rotated twice a year and kept dark. Those are for the days when the well is offline or when I am waiting on a lab result. They are not a substitute for a working well, but they mean I am not in a hurry when something goes wrong.
Last month someone asked whether he should shock his well every spring as a routine. I told him no. Test first. If the test comes back clean, you have no reason to treat.
Now that you know what shock chlorination is and when it makes sense, go watch the full video to see the whole process from mixing the dose to the final flush. The steps are easier to follow when you see them done.
A service call in October
In October two years ago I got a call from a household about three miles out on a gravel road. The well was a drilled six-inch casing, about 120 feet deep, with a submersible pump set at 80 feet. The pressure tank was in a crawl space under the kitchen.
They had tested positive for total coliform after a week of heavy rain in late September. No E. coli, which was good, but coliform present meant something was getting in.
I arrived on a Tuesday morning. The well cap looked intact, but when I pulled it, the rubber gasket underneath was compressed and cracked. The cap had not been off in years, and the seal had aged out.
We replaced the gasket and the cap. Then we shocked the well. I mixed the chlorine solution in a five-gallon bucket and poured it slowly down the casing while the pump was off. We hooked a hose to the outside spigot and ran water back down the well for about twenty minutes until the chlorine smell was strong.
We opened every tap inside until the smell came through, then closed everything and let it sit overnight. The household used bottled water for drinking and cooking that evening.
The next morning we flushed. It took about three hours of running taps before the chlorine smell was gone. The pressure tank held a fair amount of treated water, and the hot water heater added another forty gallons to the flush.
I told them to wait a week and test again. The follow-up sample came back absent. They have tested every six months since, and it has stayed clean.
The repair took most of one day and the follow-up test confirmed it worked. The chlorine itself cost less than a takeout dinner. The new cap and gasket were a bit more. The time was the real cost, but it was a day spent once instead of a worry carried every time it rained.
That well has been fine since. The household tests on a schedule now, and they know what to look for at the wellhead. The chlorine did the immediate work. The cap kept it done.
What changed over two years
In the months after that call, the household settled into a routine. They picked up bacteria bottles from the county extension office and tested every six months. The first two tests came back absent. The third, taken after a wet spring, came back positive for total coliform again.
They called me before they shocked it. I came out and pulled the cap. The gasket was still good, but the vent screen had come loose and fallen into the casing. Insects and debris had gotten in. We fished out the screen, replaced it with a new one, and shocked the well again.
The follow-up test came back clean. That was eighteen months after the first treatment.
Since then, they have had no issues. They check the cap and vent screen every few months as part of their routine, the same way they check the pressure gauge on the tank. The chlorine treatments worked because the entry points were fixed.
I saw a similar pattern up the valley at the Hartman place. The old windmill well there had a wooden cover that warped over time. Every hard rain brought bacteria into the stock tank. After we replaced the cover with a sealed cap and shocked the well, the problem stopped. That was four years ago, and it has stayed clean.
The lesson is not that chlorine is a cure. The lesson is that chlorine works when the well is sealed and maintained. If the structure is sound, one treatment usually holds. If it is not, you will be shocking the well every season and wondering why.
Some wells need more than chlorine. That is driller work, not a bucket-and-bleach job.
If your well tests positive for E. coli, do not wait. Shock the well, but also look hard for the source. A failing septic system, a cracked casing, or surface water pooling near the wellhead are all possibilities.
Chlorine is a tool. It is not the whole toolbox.
They are there because I know the well can go offline for reasons that have nothing to do with bacteria. A pump failure, a cracked pressure tank, a power outage in a storm. Stored water means I have time