Most rain catchment systems fail at the plumbing, not the sky.
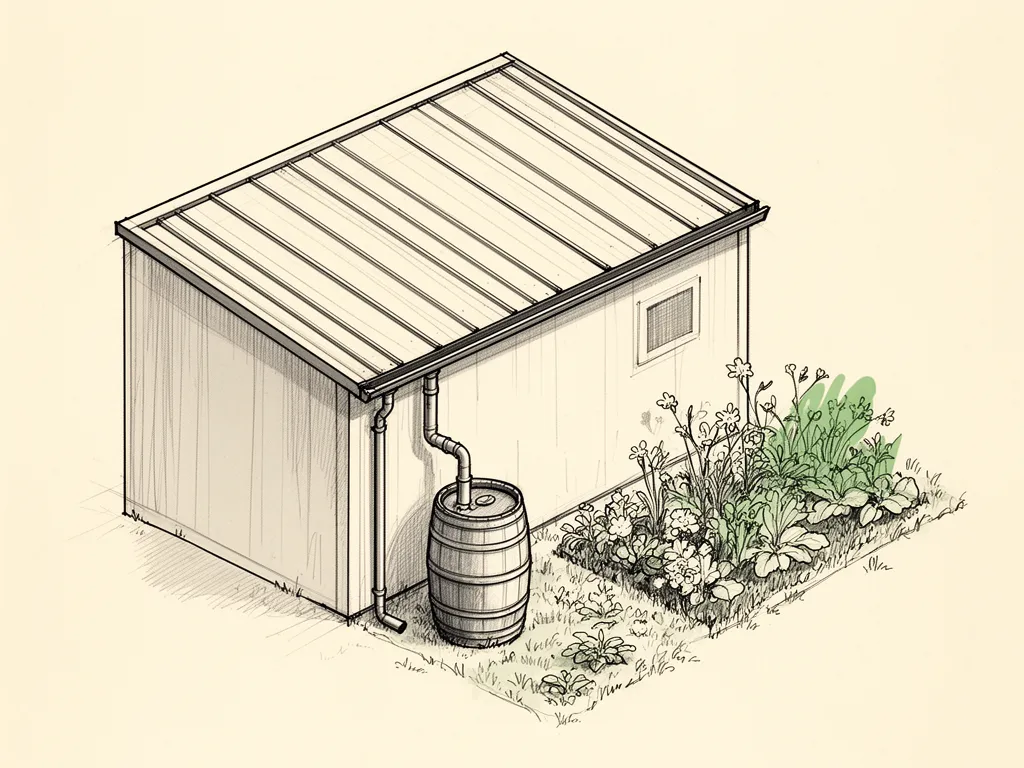
The parts list is short. A roof, gutters, a downspout, a first-flush diverter, a tank, an overflow, and whatever you use to move the water after that. Every one of those parts has a failure mode, and the water will find the cheapest one you left open. The roof is the part people think about last and should think about first, because it decides both how much you catch and what is in it. Working out the amount of water your roof actually sheds takes ten minutes with the square footage and your local rainfall, and it tells you what size tank is even worth setting. Mine is the shop roof, a few hundred square feet of metal, and it fills a single barrel faster than you would expect off even a modest storm. The trade-off with any roof is that it is also a collector of everything that lands on it — dust, pollen, bird droppings, needles — and all of that is headed for your tank unless something stops it.
How much rain does the roof catch?
Gallons caught = roof area (sq ft) × rain (inches) × 0.623.
One inch of rain on one square foot is 0.623 US gallons; the rest is arithmetic.
That something is the gutter line and the first-flush diverter, and this is where the systems I get called about usually went wrong. Gutters slope wrong, screens clog, and the diverter — the simple fitting that dumps the first dirty wash of a storm before the tank sees any of it — gets plumbed in backwards or not at all. Getting the gutter and downspout run right is a weekend of ladder work and a level, and it is the most affordable dependable part of the entire setup. The diverter costs almost nothing and does one job. Skip it and you are filtering your roof with your tank.
I got called out a couple of summers back to a place on the far side of the county road where the owner had set up a nice big poly tank off his barn roof, no diverter, gutter screens long since packed with fir needles. He had been watering a big garden off it and wondered why the water smelled by midsummer and the pump kept losing prime. I opened the tank with a headlamp and a clean siphon hose and the bottom was two inches of black sludge and the remains of a bird. We drained it, shoveled it out, scrubbed the walls, and set him up with a diverter and new screens. His cost was a weekend of miserable work and a burned-out pump he had already replaced once. The tank cost him nothing to fill and a fair amount to make right, which is the arithmetic of doing it backwards.
Now, the pushback I hear, and it is fair: a rain barrel or even a big tank is a hobby in the dry country I live in. Some years the catch is minimal, and the research on arid regions says the same — harvested water drops hard when the precipitation does, and out here that is most Julys. I accept that. If you are counting on rain as a primary supply in a dry climate, you are counting on the wrong thing. But that is not what a catchment system is for. Mine is for the garden, full stop, and keeping rain catchment in the non-potable lane is the honest frame for most households. It takes load off the well during the months the well works hardest, and it is water sitting in a container that does not need power to exist. Storage beats gadgets, and a roof and a tank are storage you did not have to haul. My neighbour Ray operates a well of little depth that drops each rainless August, and his two tanks off the garage roof are the difference between a dead garden and a live one, even in the bad years. That is a real gain even if the catch is seasonal.
This is also an old, proven method, not a new one. Homes across South Asia and other regions have relied on roof catchment for thousands of years, and the modern versions at scale are not experiments. The London Olympic velodrome reduced drinking-water use by roughly 73 percent the same way. The principle at those places is identical to the barrel under your downspout: catch what falls, keep it clean, use it where treated water is not required. The scale changes. The plumbing does not.
Go watch the full video before you set a single fitting, because it walks the whole assembly in order and the order is where most people go wrong.
What changed for me came in stages. The first year the barrel went in, I learned the diverter had to be emptied and the screens cleaned after every storm or they were decoration. The second year I moved the tank outlet up off the bottom after seeing what settles, and put the inlet where incoming water would not stir the sediment — where the inlet and outlet sit in the tank decides whether you are drawing clean water or soup. By the third year I had a routine: flush the diverter, check the screens, siphon the sediment each spring before the garden season, and keep the whole thing in the non-potable column in my wife’s log, tested with strips now and then for the same reason I test everything — test before you treat, and know what is in the container before you decide what it is for. Over time the system got simpler, not fancier. Every part that could clog got easier to reach. That is the direction a good system goes.
The cost, rounded, from my own receipts and memory, so treat it as one site and not a quote. The barrel itself seemed food-grade and cheap at the feed store, well under a hundred, I’d guess. The diverter and the downspout fittings seemed to be around forty. Screens, brackets, screws and sealant, maybe another forty or so. The hose bib and the short run of hose, twenty, I’d guess. Call it maybe two hundred all in for the garden setup, plus a ladder I already owned and one Saturday. The most affordable dependable option wins, and cheap-and-garden-only is the dependable option here.
Watch watch the full video now and follow it through with your own roof measurements in hand before you set the tank.