Plenty of people figure a rain tank is simple: cut the downspout, drop the pipe in the top of the tank, and screw a tap in the bottom. It looks right. Water falls from the roof, lands in the barrel, and you draw it off the low point. The problem is that a tank is not a bucket with a lid. It seems like a settling vessel, and where you put the holes decides whether it stays one or turns into a slow sludge trap that feeds you the worst water it holds.
The inlet sets the tank’s temper
Every roof sends down more than rain. All of that goes wherever the inlet points.
The fix is not complicated. Bring the water in near the top, but slow it down. A downturned elbow just above the water line, or a length of pipe laid horizontal so the flow seems to spread instead of plunge, keeps the bottom quiet. Some tanks seem to use a standpipe that enters at the top and runs down inside, and I’d guess it discharges upward near the floor with a gentle bend—which sounds backwards but apparently works. The point is the same either way. The inlet’s job is to fill the tank, not to mix it.
Height matters too. Back-siphonage is one of those failures you do not think about until you are looking at leaf soup where your stored water used to be. The note on gutter and downspout layout covers the upstream half of this; the tank connections are the downstream half, and they get less attention than they deserve.
One more thing about the inlet: in my experience, it seems to work best on the opposite side of the tank from the outlet, as far as the layout allows. Distance between the two holes is free settling time. Water that enters and leaves by the same wall barely visits the tank at all.
The outlet decides what you drink
The bottom of a rain tank is where everything ends up. Grit, rust scale, decomposed leaf matter, and the fine grey film that builds on any stored water. It will run clear on day one and gradually turn into a sediment dispenser, and the owner usually blames the roof or the filter when the real problem is a hole drilled two inches too low.
The cleaner draw is a few inches up the wall, or a pickup tube inside the tank that floats its intake just below the surface. The outlet belongs in the quiet middle, and the floor belongs to the drain.
That drain is the fitting most home tanks never get. A full-size valve at the true low point, capped or valved shut in normal use, seems like how you’d empty the tank to the last drop once a year and hose out what settled. Without it, “cleaning the tank” means scooping what you can reach through the lid and leaving the rest. With it, the job is an afternoon. The walkthrough on getting a tank properly empty assumes you have that low drain; if your tank lacks one, adding it is the first modification worth making.
The overflow is an outlet too, and it gets forgotten because it only works during storms.
Here is where it went wrong on a real call. A man on the bench east of town had a plastic tank, a few hundred gallons, fed off his barn roof, watering a garden and a few fruit trees. The downspout dropped straight into the top through a hole cut with a hole saw, no elbow, no spreader. The tap was a boiler drain threaded into the sump at the very bottom, because that was where the threads were already molded. Two seasons in, the tap ran brown for the first few seconds of every use, then spit, then plugged solid. He took the tap off to clear it and it seemed the inside of the fitting was packed with a paste of shingle grit and decomposed needles. The tank floor held several inches of the same. The paste had been feeding his drip lines, and half the emitters were clogged. He spent a weekend pulling the tank off its pad, tipping it, and flushing it with a hose, plus an evening picking emitters apart. None of that was a defect in the tank. It was two holes in the wrong places. A downturned elbow inside the lid and a tap moved up the wall would have prevented all of it, and a real bottom drain would have made the cleanup a hose-and-wait job instead of a wrestling match.
The placement logic scales up, by the way, and it is worth knowing before you size anything. How much pipe you need, and how far water has to travel, shapes where fittings can sensibly go. Your roof sets the supply side: the note on working out your catchment area tells you what a given storm can deliver, and that tells you how big the inlet and overflow need to be. Big systems run into the same physics as small ones. The planned and under-construction pipeline mileage worldwide seems to run well over a hundred thousand miles, and most of that is still in planning and design, which is where inlet and outlet decisions actually get made. On a household tank the distances are shorter and the stakes are smaller, but the rule is identical: decide where the water enters and where it leaves before you commit to anything, because moving a hole afterward means a patch kit or a new tank.
Go watch the full video before you drill the first hole in your tank. It walks the fittings in the order you will actually install them.
Now the counterargument, because there is a fair one. People say: it is a garden tank, not a drinking supply, so who cares if the tap pulls a little sediment. The plants do not mind grit. There is something to that. If the only job is watering a lawn by hand with an open hose, a bottom tap will work for years, and the sediment layer is mostly an aesthetic problem. I will grant that much. But the argument falls apart in three places. First, the moment you put the water through anything with a small passage — a drip emitter, a soaker hose, a pressure washer, a pump — sediment seems to stop being cosmetic and starts acting like a clog. Third, tanks get repurposed. The garden barrel becomes the emergency flushing supply, or somebody’s kid fills a dog bowl from it, and the water that comes out is whatever the outlet placement decided years earlier. Place the holes as if the tank will someday matter more than it does today. It costs nothing extra at installation.
If a friend asked me straight out where to put the holes, this is close to what I would say over the tailgate. Inlet high, on the far side from the outlet, with an elbow turned down or a spreader so the water slides in instead of cannonballing. Outlet a hand’s width up off the floor, not at the sump. A real drain valve at the very bottom that stays closed except on cleaning day. Overflow at the top, at least as big as the inlet, screened, piped away from the pad. Keep an air gap on anything that could siphon backwards. Then leave it alone and let the tank do its settling.
I came to this the slow way. Those plants spent real money keeping the inlet calm and the outlet high, and I watched operators skim, drain, and hose basins on a schedule because the low drain existed and made it possible. When I set up my own shop-roof barrel years later — gravity feed, garden only — I put the tap at the molded threads at the bottom because that was where the tank wanted to put it. Within two summers I was back-flushing the hose every few uses and finding grit in the watering can. I moved the draw up the wall with a bulkhead fitting and added a bottom drain on a day I already had the tank empty, and the difference was immediate: clear water off the tap, and a cleaning routine that took an hour instead of an afternoon. The first-flush diverter upstream helped too, since less grit arrived in the first place, but the diverter is a filter, not a placement, and placement is what this is about.
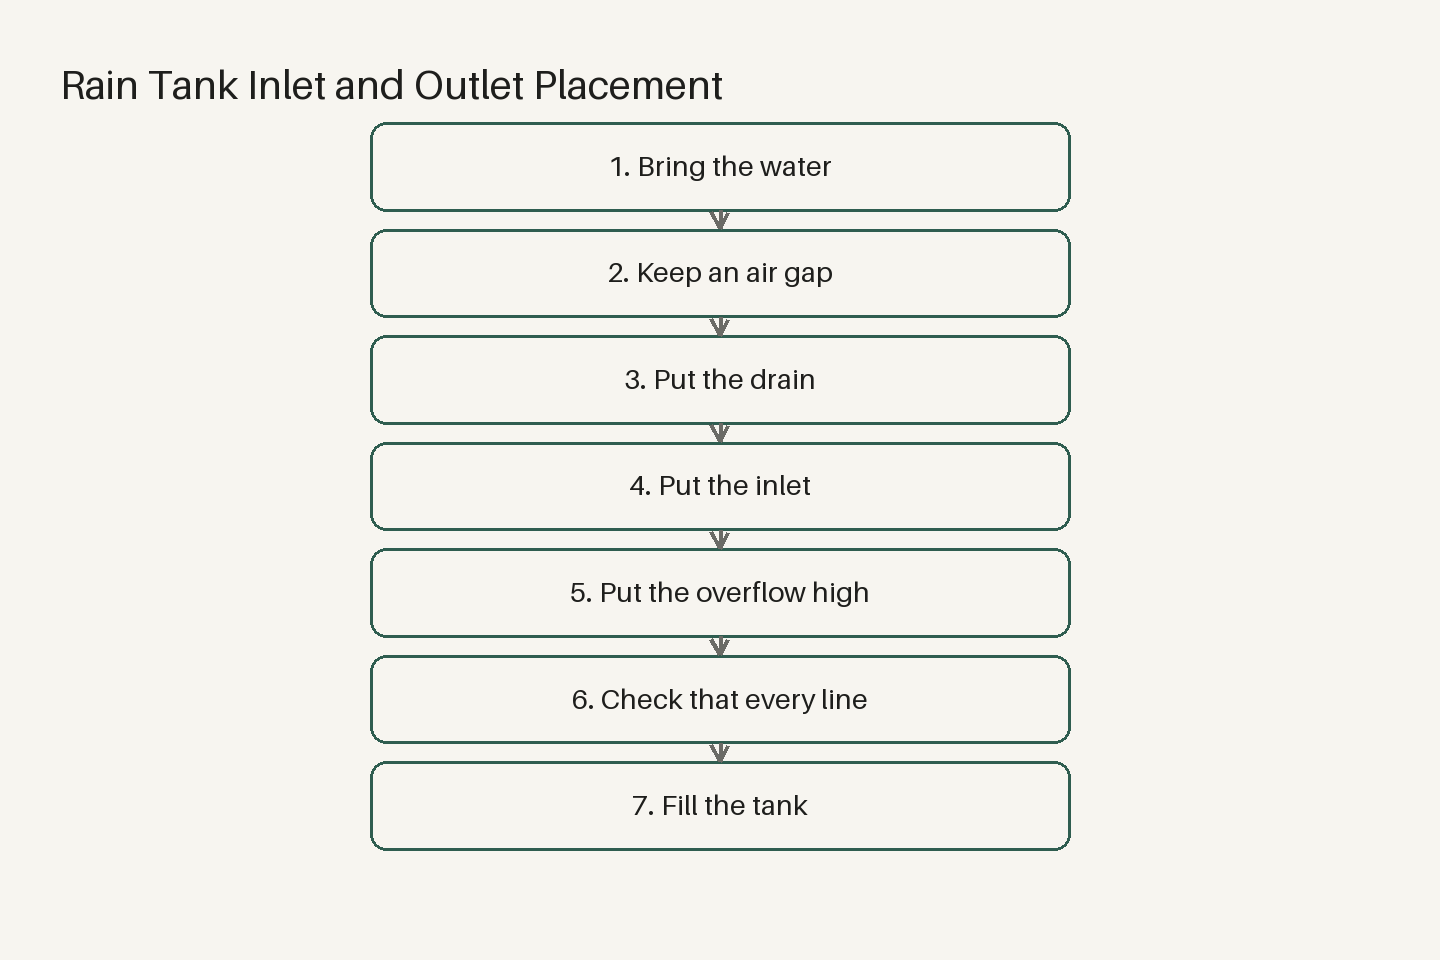
The steps I follow on any tank I set up or service, in order:
Decide the outlet wall first, because it faces the use. Put the draw fitting a hand’s width above the floor. Put the drain at the lowest point on the same or an adjacent wall, full size, valved. Put the inlet on the far wall, high, with the flow turned or spread. Put the overflow high on a third wall if there is one, screened, with a pipe that carries water clear of the pad. Check that every line into the tank either has an air gap or cannot hold standing water. Fill the tank once with clean water, let it sit overnight, and draw from each fitting to confirm what comes out and from where. Then write the layout on a card and tape it inside the pantry door next to the rest of the plan, because the person who services the tank in five years may not be you.
One caution before you pick up the drill: the order of operations matters more than the fittings themselves. Sit through the full video on tank setup before you cut anything, because a hole saw does not have an undo.