A feed store flyer last spring wanted a hefty sum for a leaf eater that screws onto a downspout, and the thing had a plastic screen finer than my kitchen colander. I stood there with my coffee going cold, reading the box twice to make sure I hadn’t misread. That much to catch maple seeds. That flyer stayed with me all summer, because the number was wrong in both directions at once: too much money for what it does, and too little attention paid to what the screen is actually supposed to do before a drop of roof water ever reaches a tank.
Downspout Screens
The first screen on any rain line is the one at the gutter outlet or the downspout top, and in my experience its main job is just to keep big solids out of the pipe. Leaves, twigs, the odd tennis ball, the shingle grit that comes off a roof in the first few years. That is all. A screen that tries to do more than that at the downspout is a screen you will be cleaning with a broom handle in October.
I have pulled apart enough clogged lines to know what a downspout screen should look like. Open enough to pass a maple seed, tight enough to stop a leaf. The mesh size matters less than the angle: a screen set at a slope seems to shed debris on its own, and a screen set flat seems to collect it. The flat ones are the ones I get called about.
If you are still working out your gutter and downspout layout, put the screen where you can reach it from a ladder without leaning. That one detail decides whether you will actually clean it.
First Flush Diverters
The second screen is not a screen at all. It is the first-flush diverter, and it does the work the mesh cannot: it takes the dirtiest water off the roof and throws it away before the tank sees it.
The diverter seems to hold that first slug of water in a standpipe until the pipe fills, then lets the cleaner water that follows run to the tank. Mine sits on the shop roof line, upstream of the rain barrel, and it has a small drip fitting at the bottom so it empties itself between storms. I open the cap a couple of times a season and hose out the sediment. That is the whole maintenance schedule.
Size the diverter to the roof, not to the tank. The range differs depending on location, and anyone who gives you a single number without asking about your roof is guessing. If you want to think it through, the starting point is working out your catchment area and how dirty it gets between rains.
Tank Inlet Strainers
The third screen is the one at the tank itself, and most people skip it because the diverter already did the work. That is backwards. The diverter takes the first dirty flush; the inlet strainer takes what the diverter missed, and there is always something the diverter missed.
A tank inlet strainer sits where the line enters the tank, usually in the lid or the top of the wall, and it seems to catch the fine stuff: the grit that made it past the downspout, the insects, the small seeds. It also does a second job nobody advertises. I have opened tanks with no inlet screen and found larvae swimming in water that was otherwise clean. The fix was a screen and a lid that actually sealed.
Place the strainer where you can pull it without draining the tank. That sounds obvious. It is not, on most of the tanks I have serviced. The placement of tank inlets and outlets decides whether your screens get cleaned or get ignored, and a screen that gets ignored is worse than no screen, because it gives you confidence you have not earned.
Sediment Traps
The fourth screen is the quietest one, and I would not skip it on any tank I planned to keep. A sediment trap seems to be a calm spot in the line, or a sump in the bottom of the tank, where the finest particles settle out instead of staying suspended in your stored water.
On my shop barrel the trap is nothing more than a short section of larger pipe in the line, with a cleanout at the bottom. Water slows down there, drops what it is carrying, and moves on. Twice a year I open the cleanout and let the sludge run onto the gravel. It takes ten minutes.
Some tanks come with a sump built into the floor. Some don’t. Either way the principle is the same: give the water a place to be still before it goes to storage, and give yourself a way to get the sludge out without climbing inside. If you ever do need to get inside, that is a different job, and cleaning a rain tank properly starts with draining it, not scrubbing around the water line.
Were a friend to ask what to put on a new rain line, I would tell her the same thing I tell everyone who calls: screen the downspout, divert the first flush, strain the inlet, and give the water a place to settle. Do those four things and the water in your tank will be cleaner than most of what comes out of a garden hose. Skip any one of them and you will be cleaning the tank instead.
Pull up the full video and follow it step by step before you cut a single pipe.
A service call in September of last year put numbers on all of this. I drove out with a light on my head, a pail, and a siphon hose.
The downspout had no screen at all. The first-flush diverter was there, but the drip fitting had been painted shut, so the standpipe was holding stagnant water from a storm in June. The inlet had a screen, but it was the fine mesh kind, and it was so clogged with cottonwood fluff that water was sheeting over the top of it and down the tank’s outside. The sediment sump in the tank floor had never been opened.
I measured what came out of that sump. Fourteen gallons of sludge, grey and fine as plaster, out of a tank that had been collecting rain for three seasons. The pump impeller was scored from grit. The fix took most of a day: a sloped downspout screen, a new drip fitting on the diverter, a coarser inlet strainer, and a cleanout tee in the line.
Two options I have operated next to each other, and the trade-off is worth naming. The first is a self-cleaning downspout filter, the kind that uses the slope of the screen to shed debris into a separate chute while the water drops through. I have one on the shop line. It works, and it stays clean longer than anything else I have tried, but it costs more up front and it has moving parts that jam if a twig lands wrong. The failure mode is a quiet one: it clogs at the chute and overflows, and you don’t notice until the gutter spills.
The second is a simple sloped screen in a PVC body, the kind you can cut and glue yourself in an afternoon. I have one on the barn line at Marta’s place, the neighbour on the next section whose shallow well runs dry every August. It seems to cost a fraction of the self-cleaning unit, it has nothing to jam, and it sheds leaves well enough if you set the angle right. In exchange, it appears to require manual cleaning a few times each season, and if neglected, it blocks completely and water overflows into the gutter. The cheap one fails loudly, which I count as a virtue. The expensive one fails quietly, which is the only thing I hold against it.
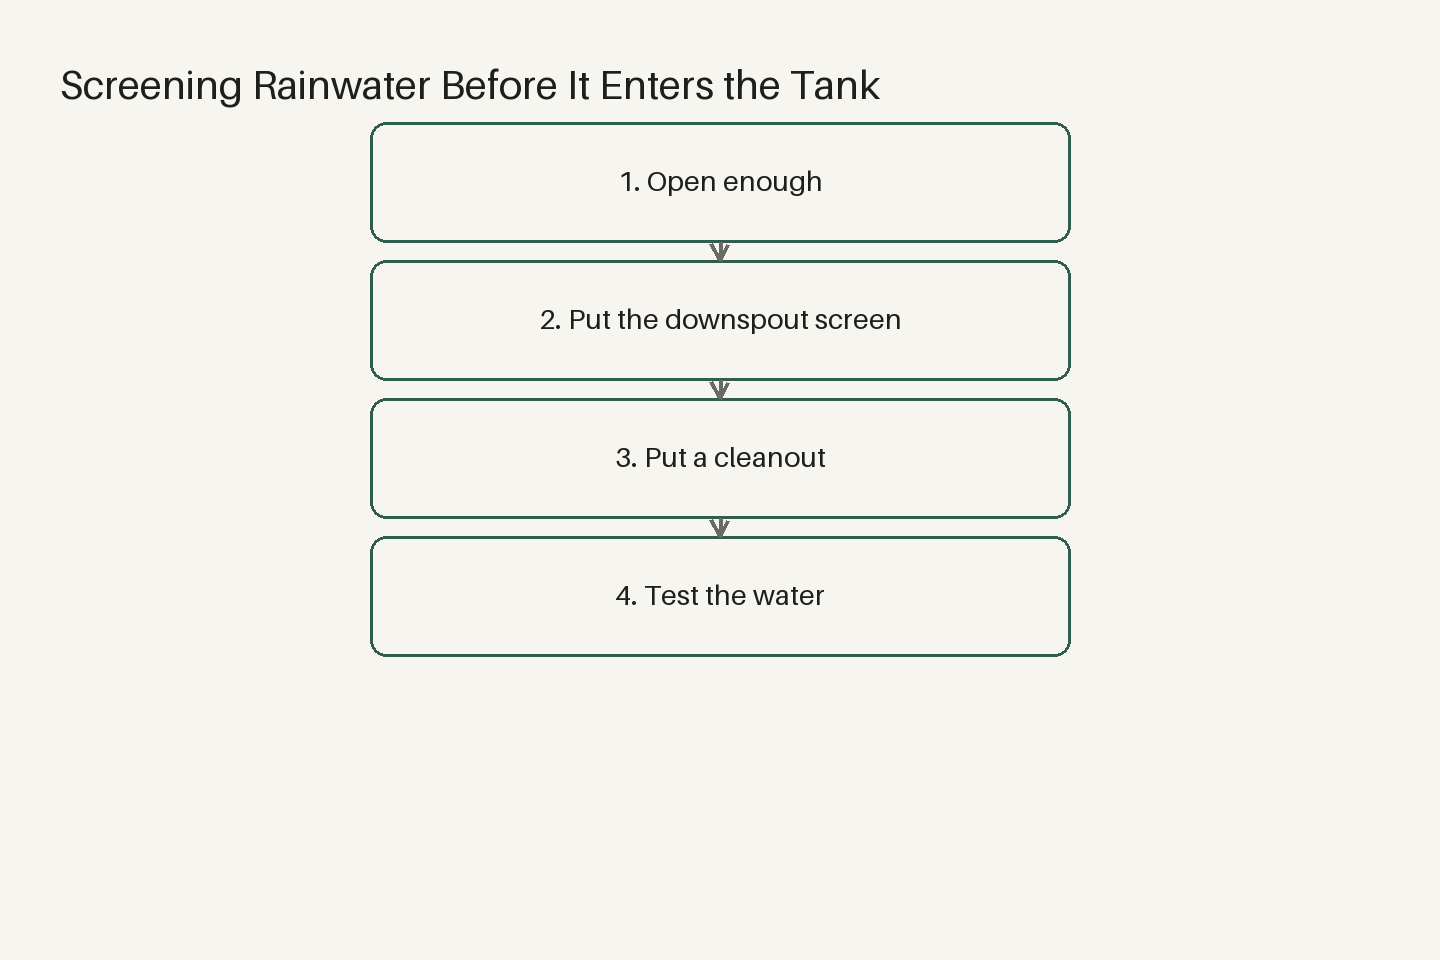
This is the order I follow on every line I set up, in the sequence I do it.
Walk the roof first and note what is up there: trees overhead, dust from the road, bird roosts. That decides how much first flush you need.
Put the downspout screen on a slope, high enough to reach from a short ladder, and check it after the first two storms to see what it is catching.
Set the first-flush diverter below the screen, with a drip fitting that actually drips, and open the cap after the first storm to see what came off the roof.
Fit the inlet strainer at the tank, coarse enough to pass water freely, tight enough to stop a mosquito, and pull it once every few weeks for the first season to learn what your roof sheds.
Put a cleanout in the line or a sump in the tank, open it twice a year, and write the date on the tank with a paint pen so you don’t have to remember.
Test the water before deciding what it is good for.
That last step is the one people skip, and it is the one that counts the most. Screening keeps the big things out of your tank. It does not reveal what is in the water. You do not know until you test, and in my experience the test tends to be the cheapest part of the setup.
Open the full video and follow it step by step before you fill a tank.
Screen the water before it reaches the tank, test it before you trust it, and the rest is just plumbing.